A secure tonneau cover latch is essential for keeping your truck’s bed protected from weather and theft. In this detailed guide, we’ll show you step-by-step how to diagnose and fix common tonneau cover latch problems – whether you have a soft roll-up cover, a hard tri-fold, or an electronic retractable cover.
We’ll cover tools, procedures, and tips that go beyond basic advice, so you can get your latch working like new.
By the end, you’ll know exactly how to inspect, adjust, clean, lubricate, or replace a faulty latch. We also highlight recent innovations (like integrated loading ramps on covers) and share real-world examples, ensuring you have everything a DIY truck owner needs.
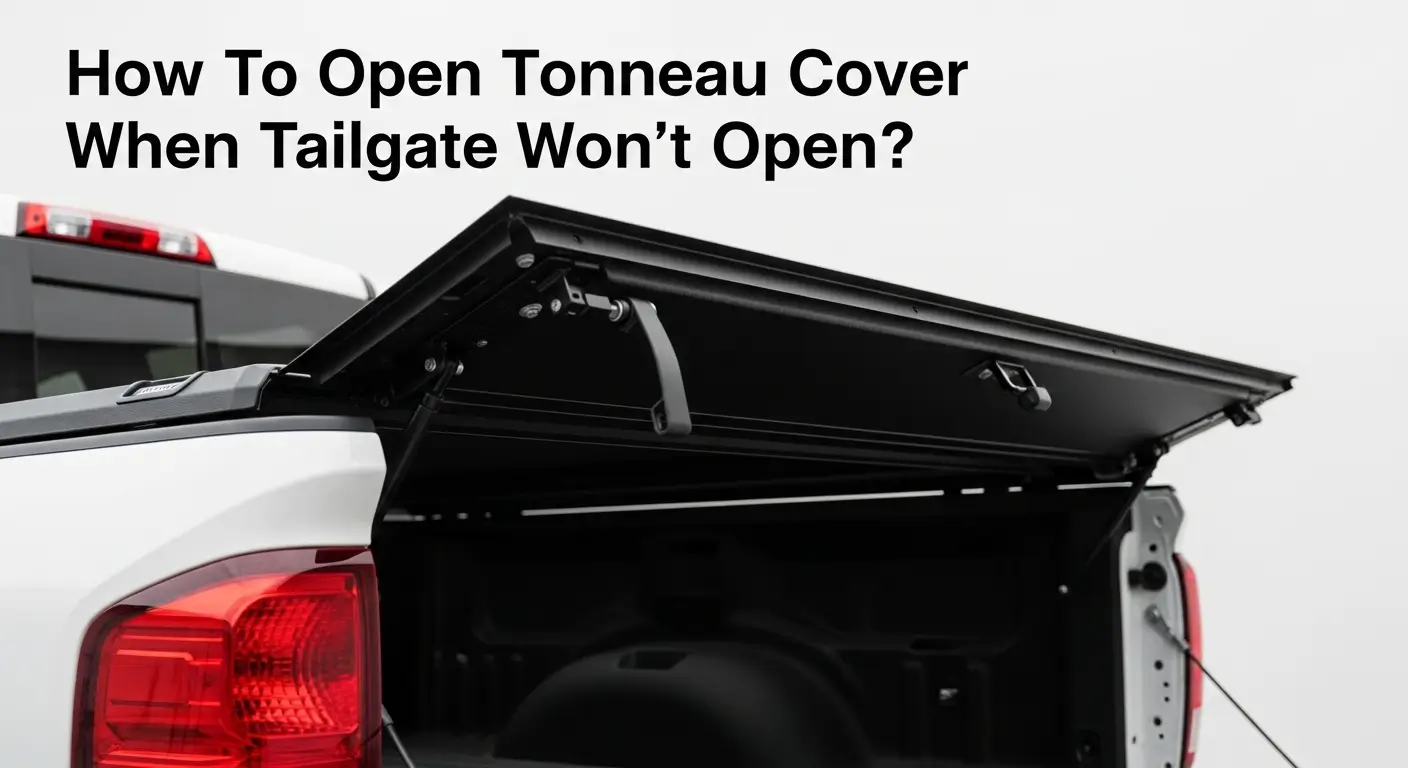
Also check- How to open tonneau cover if tailgate is stuck?
Table of Contents
Key Takeaway
Why Tonneau Cover Latches Matter
Tonneau cover latches do more than just hold down a cover – they secure your cargo and protect it from weather and theft. Truck-bed covers themselves are big business (over $1 billion in annual market) and account for roughly 30% of all truck-bed accessory sales.
A faulty latch can render the entire cover useless: even a small misalignment or rust can keep the cover from sealing, letting in water or allowing items to fall out.
Worse, an open latch is an invitation to thieves. In fact, many carriers stress that investing in a high-quality latch and maintenance is key for those using their trucks for work or valuable cargo transport.
Modern latches often include lockable rods or springs, so a well-functioning latch also adds a theft-deterrent.
Because latches are mechanical, they wear out. Vibrations, road salt, and debris gradually loosen hardware or jam moving parts.
Even as manufacturers innovate (Toyota’s 2024 patent for a cover with an integrated loading ramp shows how far tonneau design is going), the core latch mechanism remains a wear point.
Preventing latch failure saves you from cargo damage and costly cover replacements. In short, a healthy latch equals a dependable cover – so let’s dive into how to keep that latch in top shape.
Common Tonneau Cover Latch Problems
Before fixing anything, identify the problem. Common latch issues include:
Misalignment
If the cover isn’t seated evenly, the latch may not meet its striker. One cause is a shift in the cover’s frame or loose mounting hardware. Even a slight gap or twist can stop the latch from engaging fully.
Debris or Rust
Dirt, rust, or paint can block the latch’s moving parts. For example, tree sap or dried mud in the latch spring can jam it. Cleaning often solves “sticky” latches..
Bent or Broken Parts
A lever or catch that’s bent from impact (hitting a tree branch, for example) won’t engage properly. Plastic components (common on soft covers) can crack. Inspect for obvious damage.
Worn Springs/Springs: Springs can weaken with age, causing poor tension. If your latch won’t pop back, the spring may be shot.
Loose Hardware: Screw or bolt that holds the latch assembly can back out from vibration. This shifts the latch out of place.
Manufacturing Defects/Recalls: Some models have had known defects. For example, certain 2022 Hyundai Santa Cruz trucks required a campaign to inspect and replace a latch and pull strap assembly that could detach if not fully seated.
In practice, walk through these checks: visual inspection and simple tests. Close and open the cover a few times while watching the latch engage. Look for binding or gaps.
Then feel for smooth movement (or jam) when you pull the lever. Tighten any loose screws and try freeing debris with a cloth – many latch failures come down to this basic triage.
Essential Tools and Materials
Fixing a latch typically requires only basic tools. Gather:
- Screwdrivers/Drill and bits: For removing latch fasteners. Most latches are held by screws or bolts.
- Pliers: Needle-nose or adjustable pliers to bend bent catch plates or springs back into shape.
- Torx/Allen Keys: Some covers use specialized bolts (check your cover manual).
- Wrench or Socket Set: For nuts/bolts on rails or receiver.
- Lubricant: A silicone spray or lithium grease. Oil-based lubricants (WD‑40) can gum up over time, so silicone/graphite is best.
- Cloth/Brush: To wipe off rust and debris.
- Replacement Parts: If your latch is broken, have a new latch kit ready. These often cost $10-$30.
- Optional: Epoxy or metal filler (for small cracks), Loctite/threadlocker to secure screws after repair.
Having these ready means you can tackle most issues in one trip. As one DIY guide notes, you’ll likely only need screwdrivers, pliers, and lubricant to get many latches working again.
Step-by-Step Latch Fix Process
Follow these steps to fix your tonneau cover latch:
1. Prepare and Inspect
2. Check Alignment and Hardware
3. Test and Lubricate the Latch
4. Adjust Bent or Broken Parts
5. Test and Lubricate the Latch
6. Reassemble and Align
Test Thoroughly
Before calling it done, test the cover multiple times. Close and latch the cover, then try to lift the cover to ensure it’s locked. Open and close it from inside the truck bed too (some covers latch differently when the tailgate is down).
Drive around and re-test – road vibrations can cause minor shifts. If anything feels off, revisit the steps above. As Truckio advises, “open and close the cover multiple times to verify smooth operation and secure closure”.
Only when the latch consistently clicks and holds should you finalize the repair.
Preventive Maintenance
Finally, take steps to keep the latch working long-term. Wipe excess lube, as too much can drip onto the tailgate. Tighten any fasteners one last time.
From now on, inspect the latch seasonally: clean it off and reapply silicone spray every few months, or after winter.
Small, inexpensive upkeep (cleaning and lubrication) pays off – Engine Block troubleshooting reminds us that simple cleaning and lubrication often fix stickiness. Consider applying a rust inhibitor if you live in a salty or humid area.
Tips for Specific Latch Types
Different tonneau covers use different latch mechanisms. Here’s how to handle the most common types:
Soft Roll-Up Covers (Cam/Toggle Latches)
These have external cams or toggle hooks that clamp down on the rail. For these, make sure the cam rotates smoothly into place and clamps tightly to the rail (adjust the angle of the cam or its keeper plate if needed).
Toggle latches go through a hole in the rail – clean and lubricate these especially. If the plastic latch head breaks, replace it promptly. Many soft-cover guides suggest inspecting these regularly and replacing worn parts immediately.
Tri-Fold Hard Covers
These usually have multiple latches: two side spring latches and a center primary latch up front. Most failures involve the center latch. Align each side latch by ensuring the folded panels lay flat, then focus on the front latch.
If it’s not catching, adjust the height of the cover or striker plate. One trick: remove the center latch and simulate closing to mark its contact point, then sand or file off burrs that prevent full engagement. Some Tri-Folds use gas struts or cables – inspect these for tension (replace weak struts).
Retractable (Roll-Up) Hard Covers
These often latch on hidden rails or tailgate hooks. Check any spring-loaded detents or locking bars. For covers with a latch built into the tailgate (like some truck OEM covers), open the tailgate and look for a hook or pin – align it and lubricate.
If the cover has a locking cable (common on newer models), ensure the cable is intact and attached. These can stretch or break, so replace if slack.
Powered Covers
Electric covers have a motor-driven latch. If the motor works but latch won’t release, the issue is usually mechanical (wiring faults are rare). Unplug and manually operate the latch (as above) to inspect.
If a sensor (like a “battery saver” for the cover) is involved, make sure it’s not glitching. For these, consult the manufacturer’s service manual carefully – the latch fix is similar, but you may need to reset the electronic control after reassembly.
Remember, even though mechanisms differ, the basic principles hold: align, tighten, clean, and lubricate each moving part.
For example, a cracked rubber seal on a hard cover is a common problem (it can stop a latch from reaching), so inspect surrounding trim as well.
When to Replace or Call a Professional
If you find a severely broken latch or cracked cover panel, replacement is often simpler. Replacement latch assemblies are widely available – start with your cover’s manufacturer or an auto parts store.
Install it following instructions (most guides note it’s a straightforward swap, requiring only screw removal and reinstallation).
Don’t over tighten new screws, as CoverCape warns stripping threads makes future fixes harder.
Call a pro in these cases:
- Complex Covers: Retractable or high-end folding covers may have hidden springs/threads. If your cover is under warranty, the dealer might fix it for free.
- Structural Damage: If your truck’s bed or rails are bent (often from accidents), resetting that frame goes beyond a latch fix.
- Persistent Failure: If you’ve followed all steps and the latch still fails, a technician has specialized tools to realign rails or replace hard-to-get parts.
However, most latch issues are DIY-fixable. Even manuals suggest owner intervention – for instance, the Hyundai service bulletin on Santa Cruz advises simple inspection and replacement of the latch/pull strap if needed. That shows manufacturers expect owners or dealers to fix minor latch faults themselves.
Preventing Future Latch Issues
To keep your latch happy:
- Regular Cleaning: After long trips or winter, hose out the rails and wipe the latch clean. Dirt in the mechanism is the #1 cause of sticking.
- Periodic Adjustment: For soft covers, tension straps can be re-tightened as the vinyl stretches. For metal covers, check for new rattles or looseness.
- Lubrication: A quick spray of silicone lube every few months keeps parts moving. Avoid heavy oils that attract dust.
- Gentle Use: Avoid slamming covers shut. A soft close helps springs last longer.
- Check Alignment after Every Offroad/Heavy Use: If you haul big loads or go offroad often, inspect the latch more frequently – jolting can knock it out of position.
Acting on these proactive steps prevents many headaches. As industry experts note, the best maintenance is simple cleanliness and lubrication. Think of it like your truck’s oil change: a small effort that saves costly repairs.
Like a gate latch, a tonneau cover latch must align and engage smoothly. Even a tiny misalignment (shown here) can prevent the latch from catching.
By following these steps, you’ll restore the latch’s smooth operation and secure your truck bed confidently. For most readers, that means no more worrying about your cover popping open mid-drive or in a storm.
Ready to get started?
Pull out those tools, give the latch a good once-over, and enjoy that satisfying click when it latches properly. For more truck-care tips and detailed guides on accessories, check out our blog or contact a specialist if you need parts or advanced help. Your cargo (and peace of mind) will thank you!